Acrylic Markers

As my marker journey continues, I thought I’d give acrylic a try. Why? Opacity. Sometimes, I like to blot out layers, a little or even a lot. I also like permanent materials more and more.
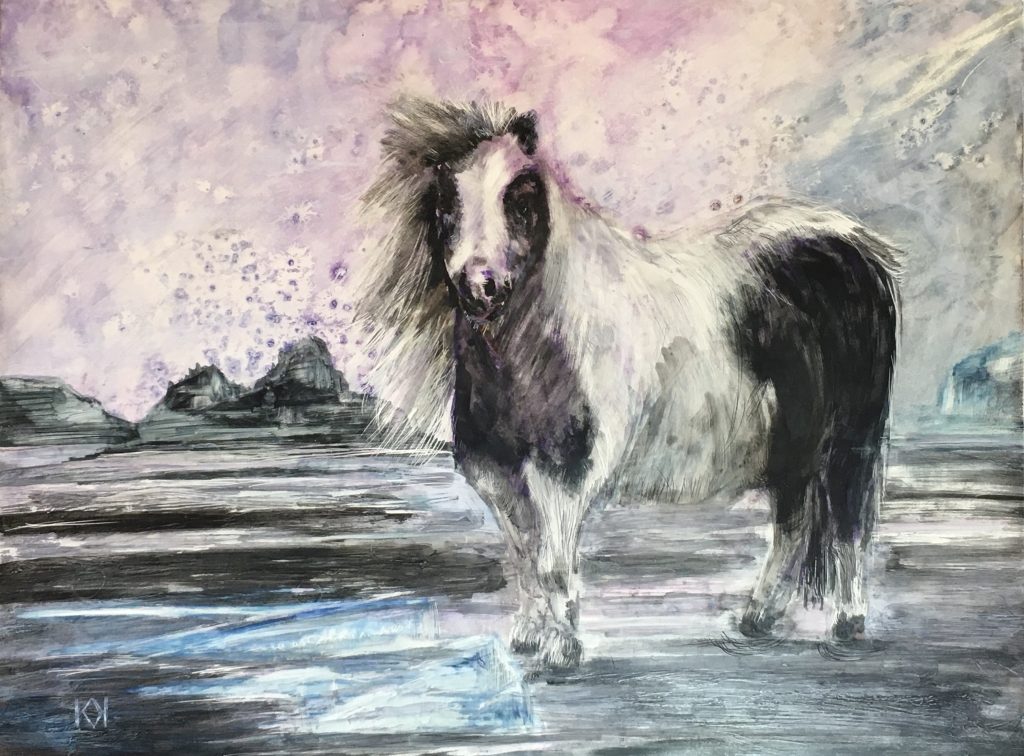
I chose a set of 40 Arteza acrylic paint markers, mainly because of the price and the wide variety of colors. I learned a lot about these markers after four hours of painting/drawing this pony. Here are some tips:
- Nibs: This set comes with a round nib in each marker but has replacement chisel nibs for all 40. I learned quickly that the chisel nib was perfect for me—quick laying down of color using the flat edge, and a fine line with the tip. Too bad I had tested them all with their original nib, but it’s incredibly easy to swap.
- Initial paint flow: After watching a few YouTube videos, I was convinced I’d have to pump these markers a ton to get the paint flowing. Don’t. Simply depress them five to ten times, and then stand them upright. The paint will travel down the nib in a few minutes.
- Chill out: Again, YouTubers led me to think one should depress the nibs not only numerous times to get paint flowing but also with a lot of pressure. You’ll likely ruin the nib if you do that, and it’s not needed. Just be patient and careful and it’ll work out.
- Crazy amount of bright colors: These markers are probably used for crafting, drawing on metal, glass, stone, fabrics, etc., so the color choices lean toward cheerful, even fluorescent, not suited to my critters and landscapes. I’ve learned to put down a darker, solid color and layer it with the brighter choices. It’s one way to keep from using up my one brown, gray, and yellow ochre.

I’m pretty enamored with markers, but I haven’t yet used them without also using a brush with some diluted paint. For the pony, I used Liquitex acrylic gouache for the background and shadows. Using a brush gives an expressive feeling I haven’t yet figured out how to achieve with just a marker.